
Infrared photography is the creating of an image using the infrared (IR) spectrum instead of the visible light spectrum. Infrared is to the left of visible spectrum (i.e. longer wavelengths) and is commonly referred to as heat. However, this isn’t entirely true as other types of electormagnetic waves can heat an object. IR photography captures the IR radiation that is reflected/generated by an object.
For examples of my IR photography, a small set of photos can be found at:
http://captuslumen.exposuremanager.com/g/infrared_bw
A large set of IR photos can be viewed on my flickr page:
www.flickr.com/photos/captuslumen/sets/72157624138258760/
Why IR photography?
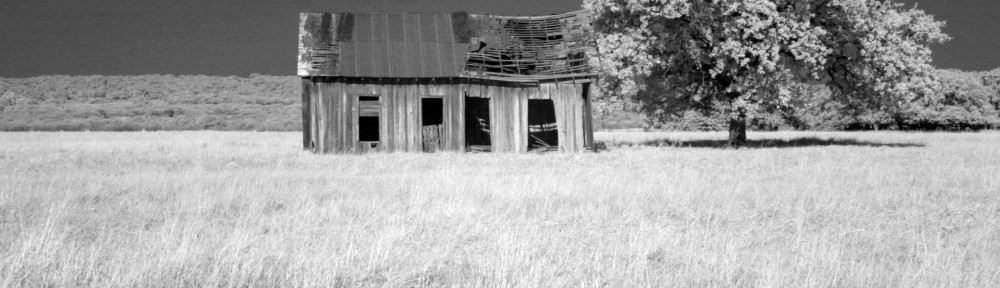
IR photography gives a much different look and feel than traditional photography as objects reflect/emit different amounts of IR light. Vegetation (green leaves especially) have a high IR reflectivity whereas metal has a low reflectivity. Thus, the leaves on a tree will will come out white while a metal stair rail with appear dark in an IR image. IR cuts through haze making the sky appear dark, but thick clouds will be white. Skin is smoohed out and in some cases the underlying veins can be seen. These types of contrasts and characteristics can result in images that are very bold and surreal.

Prior to digital photography, special film was needed to capture IR images. The film was hard to work with – you had to keep in refrigerated and it could only be loaded and unloaded in complete darkness. The focus was a little different than standard film such that you had to focus manually and the adjust it slightly so that the IR image would be in focus. Needless to say, IR film photography required a lot of trial and error. With a roll of film costing just under $10 for 24 exposures, it could get very expensive just to get a good shot.
Digital cameras changed all of that. The CCD on a digital camera typically has an IR filter placed over it that blocks almost all of the IR wavelengths. By using a lens filter that only allows IR to pass through it, most digital SLRs can take IR pictures. However, this involves very long exposure times (20-30 seconds is not uncommon) which makes most shooting situations infeasible. The filter on the CCD can be replaced so that it only allows IR light to pass through. This allows the camera to be used like a normal camera with it metering and focusing just like normal.
The biggest challenge when shooting IR pictures is learning how “see” the picture. With IR, what you see is not what you get. This requires a whole different mindset to determine if the shot will work or not. For example, if too much foliage is in the picture, then it will be a washed out mess. As with most types of photography, experience is the best teacher. Take lots of pictures and try many different things: foliage, portraits, water shots, night scenes – whatever you think might be interesting. From that you’ll learn how to get the most out of your camera.
I shoot with a Canon 10D that was converted by LifePixel. They did an excellent job and their site has a lot of information on Infared Photography. Find them here: